Here’s my recipe for a naturally fermented, traditional ginger beer that has beneficial probiotics and enzymes. The recipe makes use of a ginger bug instead of dumping a bunch of bread yeast into your soda. I think the bread yeast flavor really comes through in the finished product and overwhelms the ginger. My next attempt to make homemade ginger beer used whey for a starter. I always have tons of whey leftover from straining my yogurt. But the whey cultured ginger beer was a huge fiasco, too. Lots of islands of blue mold in my carboy. So, I broke down and tried another batch using a ginger bug. My ginger bug starter was started 10 days ago because I’ve been out-of-town and didn’t get a chance to use it. But it works really well! Here’s how to can make Ginger Beer:
Homemade Ginger Beer Ingredients
1 gallon of water
6 inch piece of fresh ginger root
1 cup raw cane sugar
2 lemons, juiced
1 tsp sea salt or Himalayan salt (non-iodized!!!)
½ cup homemade ginger bug
Find a big pot and boil your water hard to get the chlorine out of it. Chlorine kills bacteria and yeast and everything else we’ve tried to grow in the ginger bug. If you have access to good clean water, you can skip this step. Bring it to a boil and keep it at a rolling boil for 10 minutes with no lid.
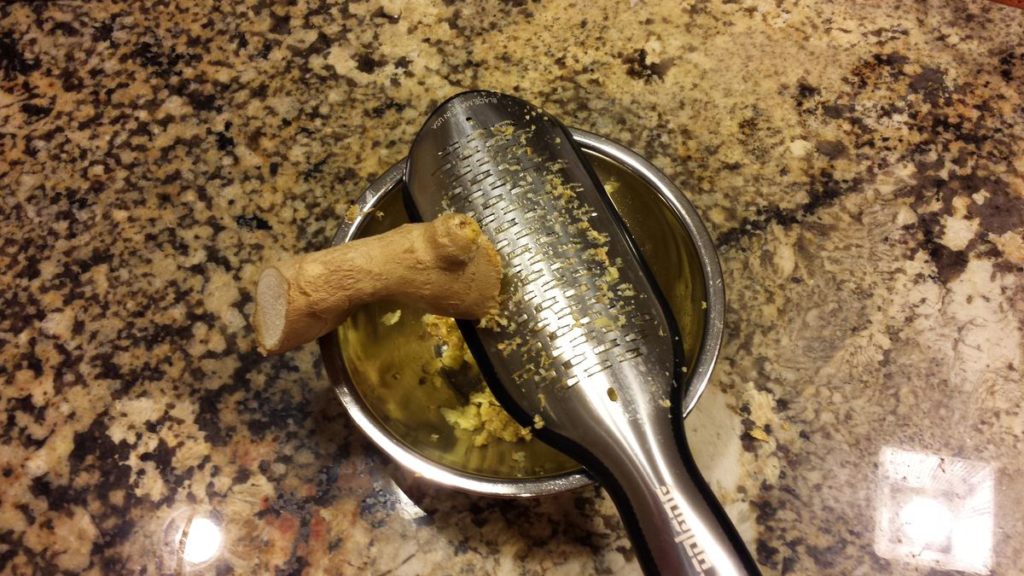
Grate the ginger root. I used a Ribbon Grater that my patisserie wife uses for chocolate. It did a nice job of slicing through the tough fibers in the root.
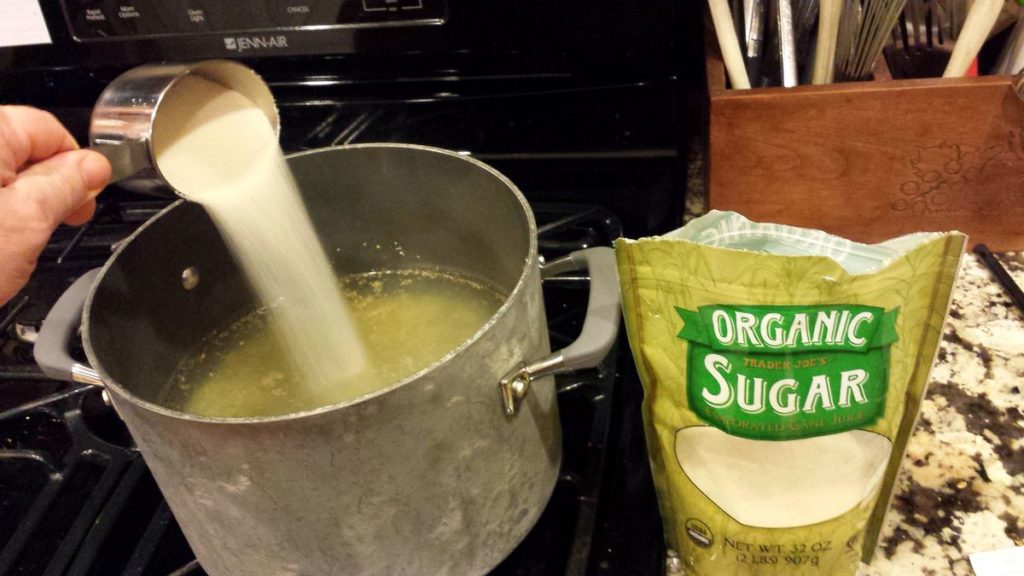
Once your dechlorination boil is complete, add the ginger and let it steep for 10 minutes. Stir in the sugar, salt, and lemon juice.
At this point, just let it sit overnight or at least allow to cool to room temperature before moving to the next step. You don’t want to cook the microbes when you pitch the yeast in your ginger bug culture.
Add the ginger bug. Give the pot a good stir.
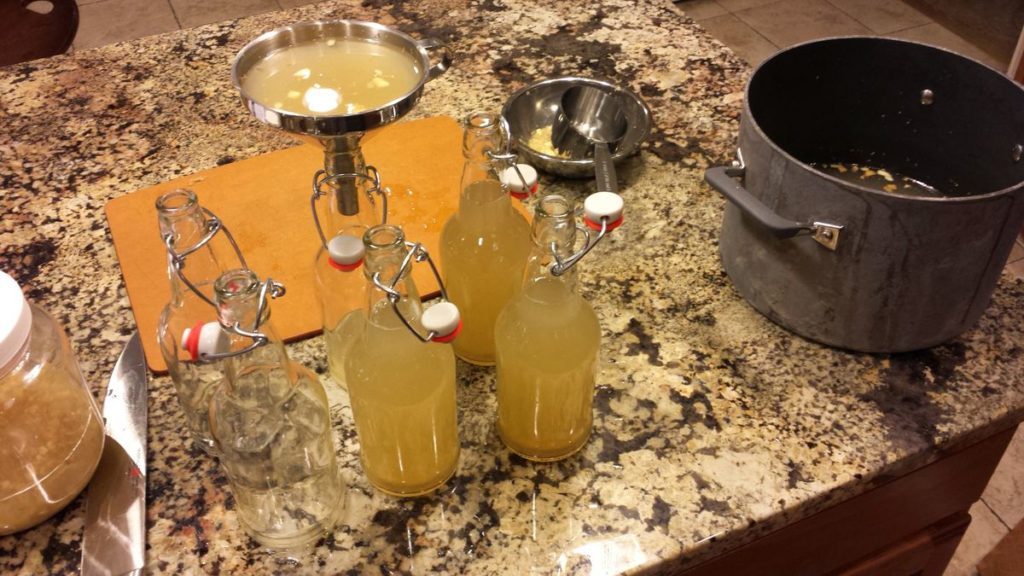
Strain into EZ Cap Beer Bottles. This Bottling Funnel was a great find. It fits nicely in the bottles and has a removable strainer to keep the chunks of chopped ginger out.
Once you have the bottles filled, lock the caps in place and leave on the counter for 3 days. Let the fermentation gasses be captured and carbonate the soda. Test one of these time bombs from time to time. Don’t let this step go unsupervised. The carbon dioxide building up in these bottles can get pretty strong. Open one over the sink to keep apprised of the fermentation / carbonation progress. Once you have a champagne-like POP of the flip top, you can stash your ginger beer bottles in the refrigerator.
Finally, don’t forget to take care of your ginger bug for future ginger beer batches. Replace the liquid you removed from the jar with a 1/2 cup of (non-chlorinated) water and a couple of spoonfuls of sugar. Stash in the fridge. Next time you’re planning on making ginger beer, take the ginger bug out a couple of days beforehand and add a little sugar to get it going again. I like to screw the lid on tight, give it a little shake, and then release the lid slowly. If I hear the fizz, I know my ginger bug is ready!
Serving Ginger Beer
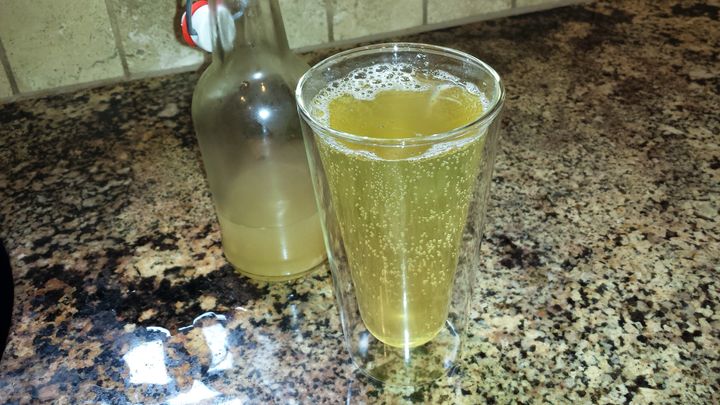
To enjoy an ice-cold ginger beer, open slowly over the sink. If the ginger beer has been completely chilled, you should get a good pop and very little foam up. Pour into a chilled glass, never over ice. It’s like serving beer! Leave the last 1/2 ounce in the bottom of the bottle. It’s mostly spent yeast cells. They’ll just cloud your glass–otherwise they’re harmless.
If you open a warm bottle or pour ginger beer over ice, you will lose all of your carbonation. Just like beer, keep it cold, serve it cold, and never over ice.


Your recipe for ginger beer looks great! I can’t believe how many variations I have seen while searching the internet – but apparently they all work pretty well. I agree with you, however, that adding yeast just isn’t necessary and overpowers the final results. Thanks for sharing.
If you can taste the yeast you added too much. I add about half a grain of rice into a qt.
I started a bug yesterday, its bubbly already, this will be a lively one.
I don’t plan adding yeast.
Nope, no need to add yeast. There’s lots right on the fruit!
I like to read a lot of recipes and then take my interpretation of them and produce something that is an intersection of all of them, using the parts that made sense to me and omitting the parts that don’t. That way I can create a recipe that resonates and works for me. It’s just a matter of understanding the basic concepts at work and adapting them to create your finished product.
Hi John,
I just asked this of you on the Mountain Rose blog, partially to bring attention to yours. However, realized you may not see it there.
Do you not peel your ginger? Just read your post and will follow your recipe after I get my ginger bug ready. I completely understood when you said you read all about what others do and then combine the best of all. I do just that! Thank you in advance. Penny
Buy organic. The skin of organic ginger has plenty of beneficial bacteria that will help your ferment. I’ve done it this way and it works well. Non organic ginger may not work at all.
If you take a look at the authors photos you’ll see he kept the skin on as well 🙂
So I bought a plastic tub with a ‘bubbler’ for the fermentation process because I was worried about the explosions I was reading about. So if I let my ginger beer ferment in this bigger container before transferring to bottles, how do I when it is ready? About how long should I expect it to take?
You should bottle this immediately upon adding the ginger bug. It will only take a couple of days at 65-75F. If you’re worried about an explosion, use a plastic soda bottle for one of the bottles. When you can no longer dent the bottle, put all the bottles in the refrigerator.
What happens if I ferment in a container before bottling?
So ginger is the flavoring component here; if I was to replace ginger let’s say with my favorite fruit, would it work as well?
Thank you for all the detail information and clarification where needed.
Yes other fruit works with the bug.
In prison they use pineapple .
Hello! This is my first attempt at making homemade ginger beer and I will be giving it as a gift for Christmas.
First off, I want to thank you for sharing this recipe. It is so helpful to have people online who share their knowledge so we can experience wit this stuff. And honestly, nothing is better than homemade ginger beer.
I fermented mine in a plastic bottle and then transferred them to glass EZswing cap bottles. I will put them immediately in the fridge.
I have two questions:
Do I have to continue to open the swing caps occasionally so they don’t explode?
AndJust curious how long they will bottled in the glass bottles stored in the fridge?
Thank you so much for your advice!